
How do I set up my SendFox account?
Set up SendFox in minutes: sign up on the Free plan, add your contacts, then send your first email from Emails → Create email. Your Dashboard checklist guides you.
How does SendFox setup work?
New accounts start on the Free plan (1,000 contacts and 3,000 sends a month), and you can move to the $29 Lifetime deal or to Pro any time. When you sign up, SendFox guides you through a short setup flow. You’ll create your account with your name, add contacts, and can connect your social accounts and website so SendFox can help you grow. Prefer to watch? The video below covers the basics.
How do I set up my account?
- Create your account. Enter your name, email, and password — your name is required at sign-up and appears as your default sender name.
- Add your contacts. Upload a CSV file, copy and paste them, or import from MailChimp, Kit, or Google. See How to create a list and upload contacts? or switching from MailChimp.
- Add your social handles. Next, add your Twitter / X, Instagram, Facebook, and LinkedIn handles so SendFox can help you grow your audience.
- Connect your content (optional). Then add your Blog, Podcast, or YouTube link so SendFox can pull in your latest content. It’s optional — leave the fields empty and click Continue.
- Create your first email. Head to Emails → Create email. The first time you send, SendFox asks for your mailing address — anti-spam laws (like CAN-SPAM) require a physical address in every email. See how to create and send an email.
What will I see on my Dashboard?
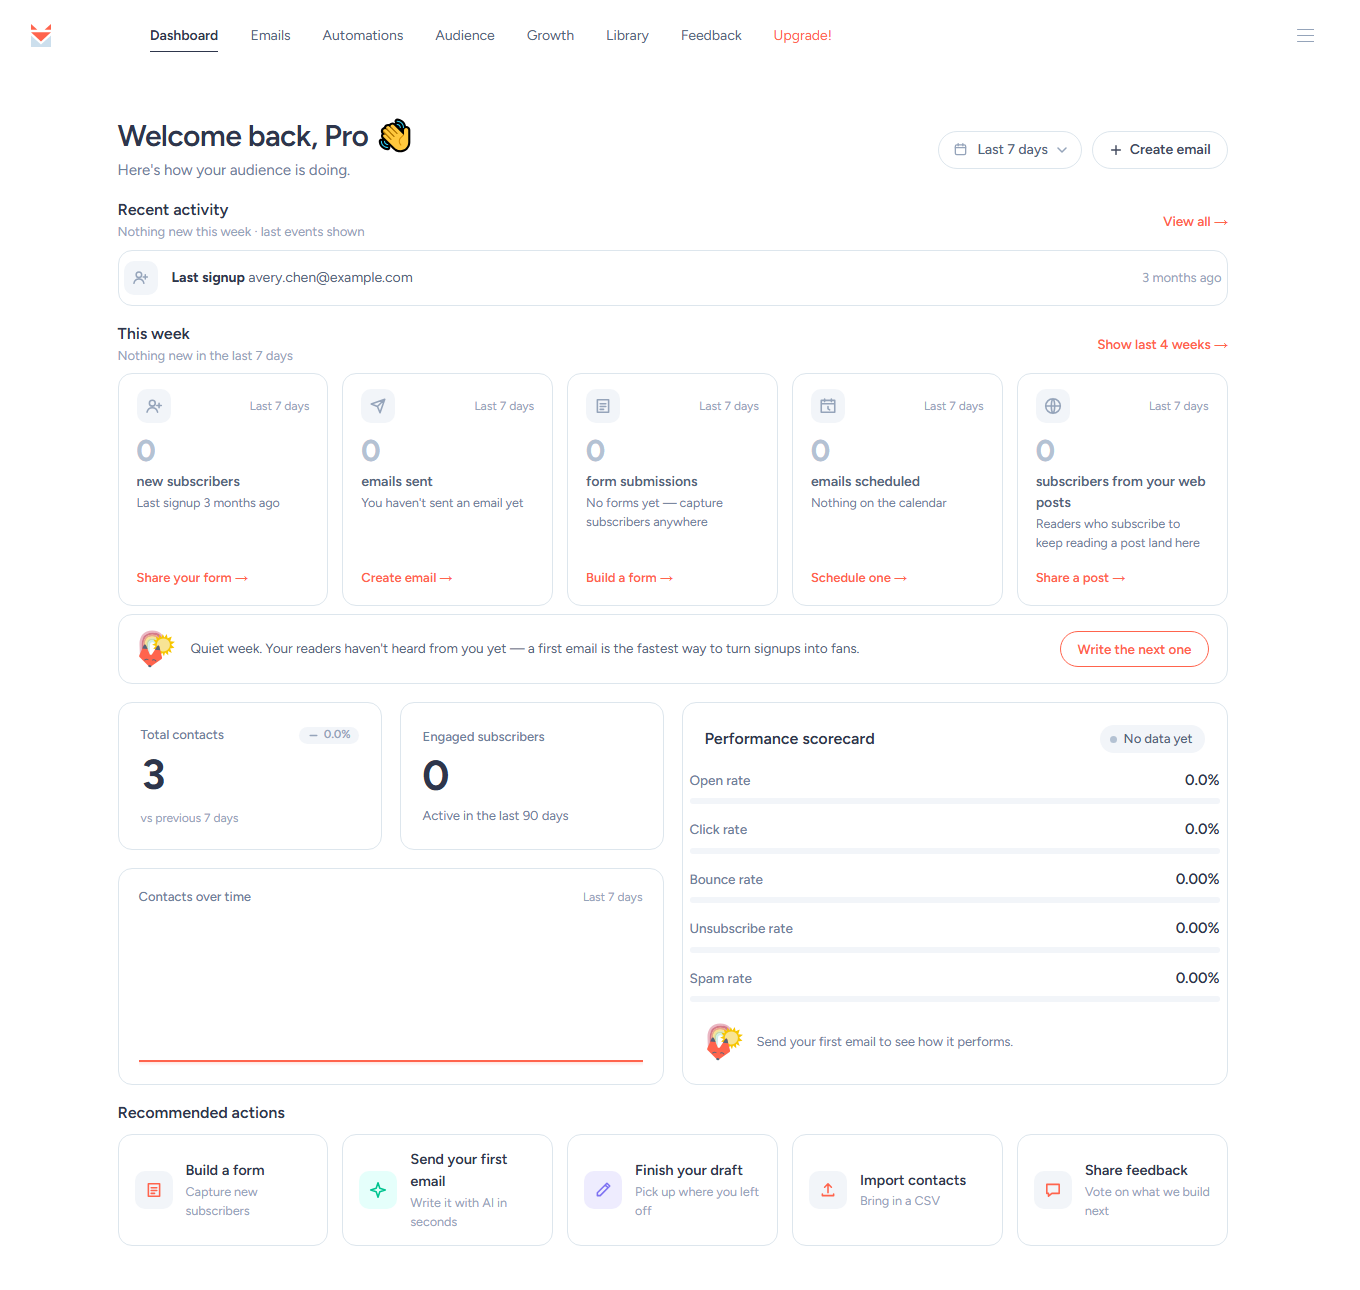
After setup, your Dashboard is home base. New accounts see a Get started with SendFox checklist at the top. Below the welcome header you’ll find a Recent activity feed, This week’s counts (new subscribers, emails sent, form submissions, emails scheduled, and subscribers from your web posts — see How do I publish an email to the web?), your total contacts and engaged subscribers, a Performance scorecard that grades your recent email results, and Recommended actions for your next step. Pick a date range at the top right to set the period the cards reflect. See your Dashboard explained for the full tour.
Which plan should I choose?
SendFox offers a free Free plan, a one-time Lifetime deal, and monthly Pro tiers, Pro 1 to Pro 5 (with an Enterprise option). To upgrade later, see How do I upgrade or downgrade my SendFox plan? The Free plan includes 1,000 contacts and 3,000 sends a month, and you can move to Lifetime or go straight to Pro whenever you’re ready. See SendFox’s key features and what Pro includes to compare.
Troubleshooting
I can’t send yet
- Verify your email. Your emails don’t go out until you confirm your email address. Click the link in the verification email SendFox sent when you signed up, or click Resend link on the Confirm your email to send banner.
- Add your mailing address. SendFox prompts you for a complete mailing address the first time you try to send — it’s required before your email can go out. You can also add or update it anytime in Settings → Profile.
My contacts didn’t import
- Check the file is a CSV with an email column. SendFox keeps one contact per email address, so contacts you already have are matched instead of duplicated.
Need a hand getting started? See quick answers in the SendFox FAQ, browse the SendFox Help Center or email support@sendfox.com with the email address you signed up with and the step where you got stuck.
Frequently asked questions
Is SendFox free to start?
Yes — you can start on the Free plan (1,000 contacts and 3,000 sends a month) and upgrade to Lifetime or Pro later.
Where is the Get started checklist?
On your Dashboard. It shows for new accounts and disappears once every step is done.
Why do I have to enter a mailing address?
Anti-spam laws require a valid physical mailing address in marketing emails. SendFox asks for it the first time you send and adds it to your email footer automatically.