How do I get access tokens?
Get a SendFox access token to use the API, Zapier, or the WordPress plugin: create a personal access token under Settings, then send it as a Bearer header.
What access tokens are for
A personal access token authenticates your requests to the SendFox API—it's also what you paste into Zapier or the WordPress plugin to connect them to your account. Tokens are included with paid plans; on the Free plan the page shows an upgrade prompt instead.
Create a personal access token
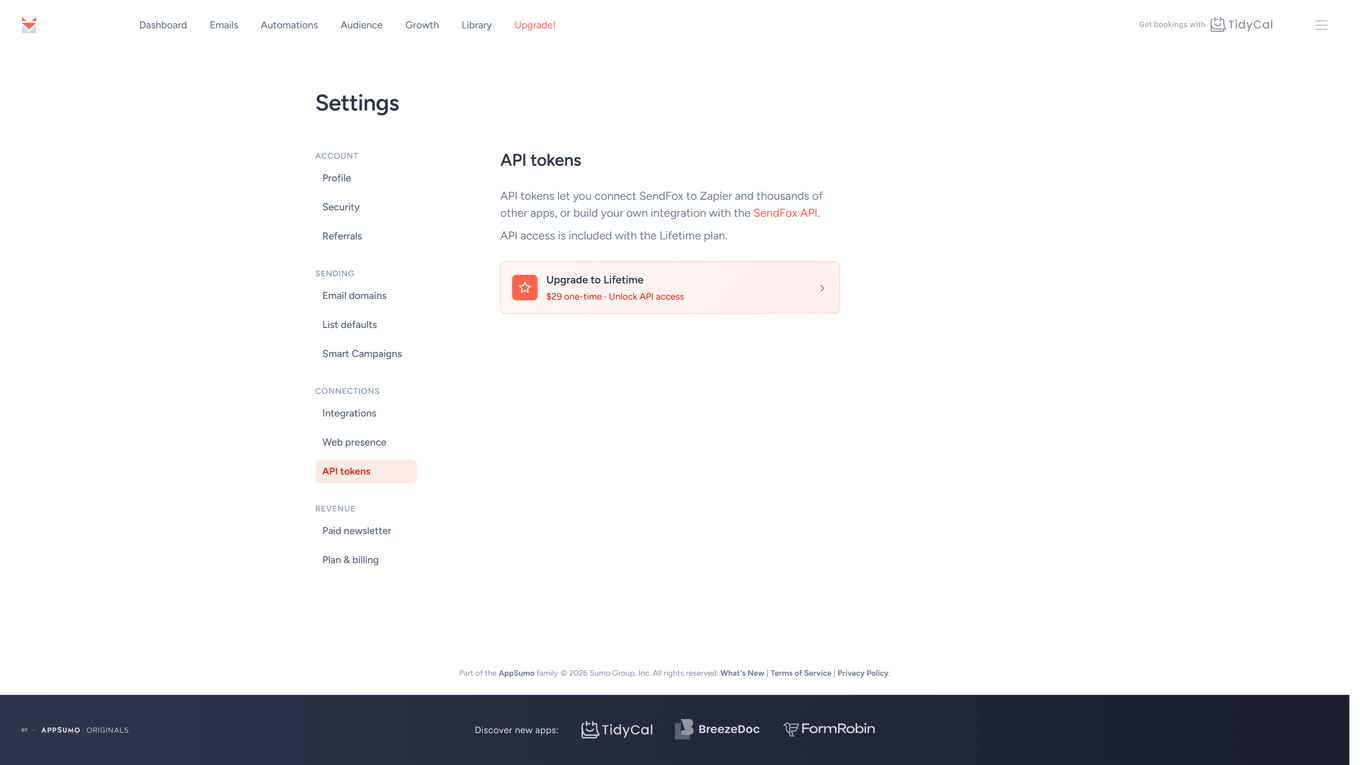
- Open the account dropdown (top right) and go to Settings → Connections → API tokens (or visit sendfox.com/account/oauth).
- Next to Personal Access Tokens, click Create New Token.
- Give the token a name that says what it's for (for example, "Zapier" or "My website") and click Create.
- Copy the token right away—it's only shown once. If you lose it, create a new one.

Use the token
Include it in the Authorization header of every API request:
Authorization: Bearer <your token>
For a full worked example in Postman, see how to create API requests.
Troubleshooting
I don't see a Create New Token option
- You're on the Free plan—the API tokens page shows an upgrade prompt instead of the token tools. API access is included with paid plans.
I lost my token
- Tokens can't be viewed again after creation. Create a new one with Create New Token, update it wherever it's used, and revoke the old token from the same page.
- Questions? Visit the SendFox Help Center at help.sendfox.com.
Frequently Asked Questions
My API requests return 402
That's the Free-plan lock: "API access requires a paid plan." Upgrade to use the API.
What about OAuth clients?
If you're building an app where other SendFox users authorize access to their accounts, create an OAuth client instead—see creating an OAuth 2.0 client.
Can I have multiple tokens?
Yes—create one per integration so you can revoke them independently.