How can I create an Automation?
Learn how to create an automation in SendFox—build a welcome series or drip sequence that sends emails automatically when someone joins one of your lists.
What automations are (and who can use them)
An automation (also called an automation series) is a sequence of emails SendFox sends for you, one contact at a time, after a trigger fires. The trigger is joining a list: when a contact is added to the list you choose, they start receiving the series on the schedule you set.
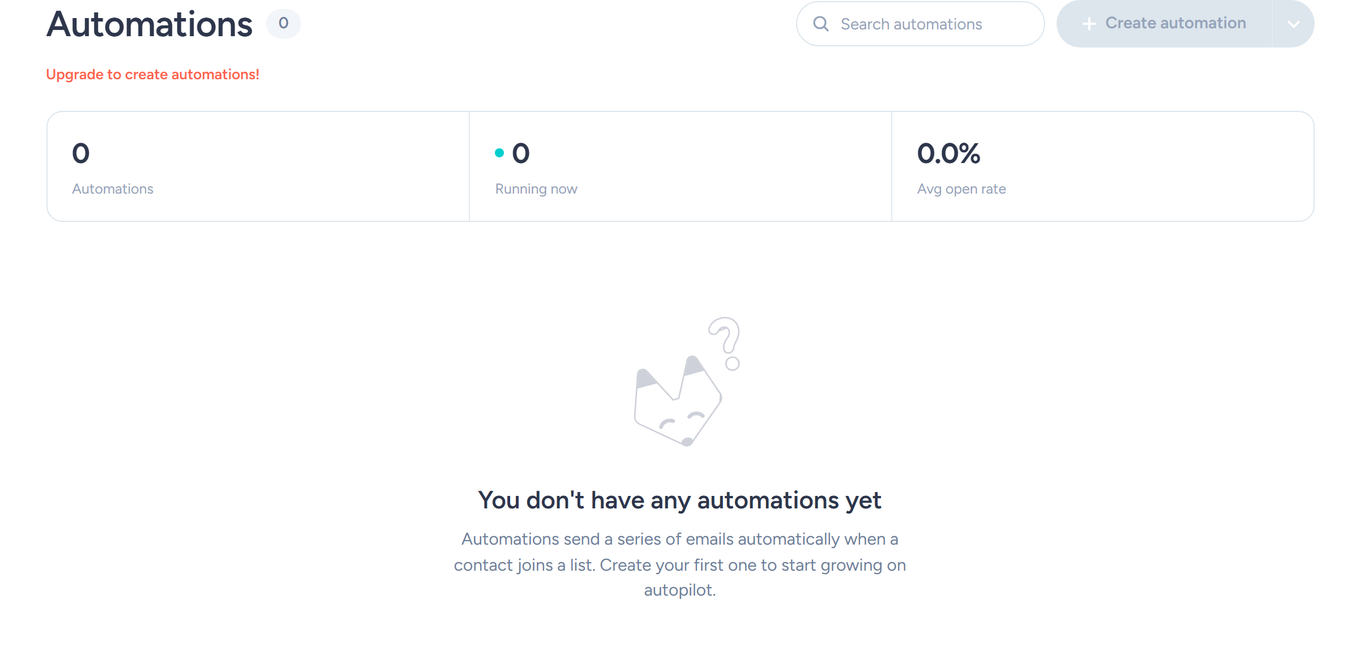
Automations are a paid-plan feature. They're included with the Lifetime plan and every Pro plan, with no limit on how many automations you can create. On the Free plan the Create automation button is disabled—you'll see an Upgrade to create automations! link instead.
Create an automation from scratch
- Go to Automations in the top navigation bar.
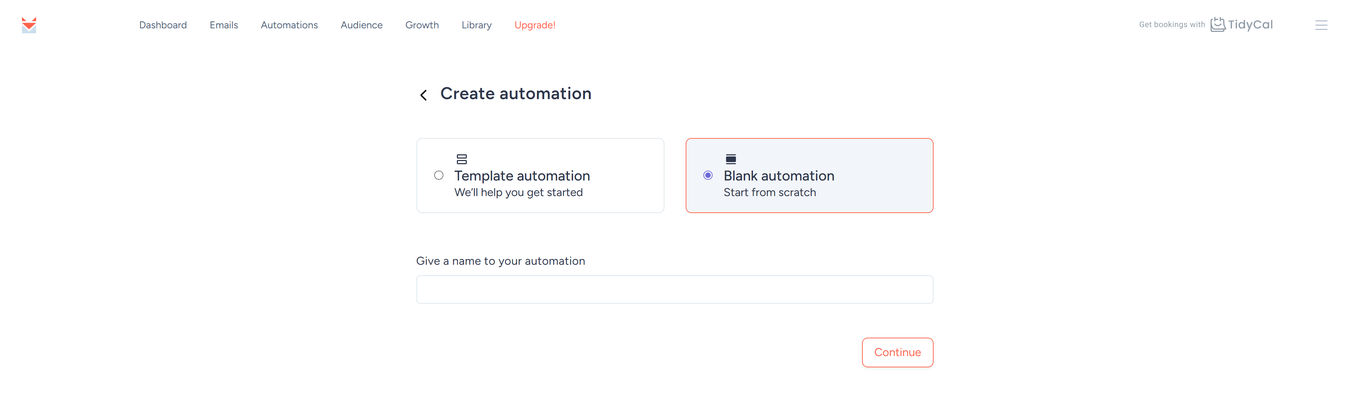
- Click Create automation. On the Create automation screen, keep Blank automation (start from scratch) selected.
- Type a name under Give a name to your automation and click Continue. The automation builder opens. (If you don't have a list yet, SendFox asks you to add a list first.)
- Click Add a starting trigger. In the Starting trigger window, the series starts by Joining a list group—pick the list under Select List: and click Save.
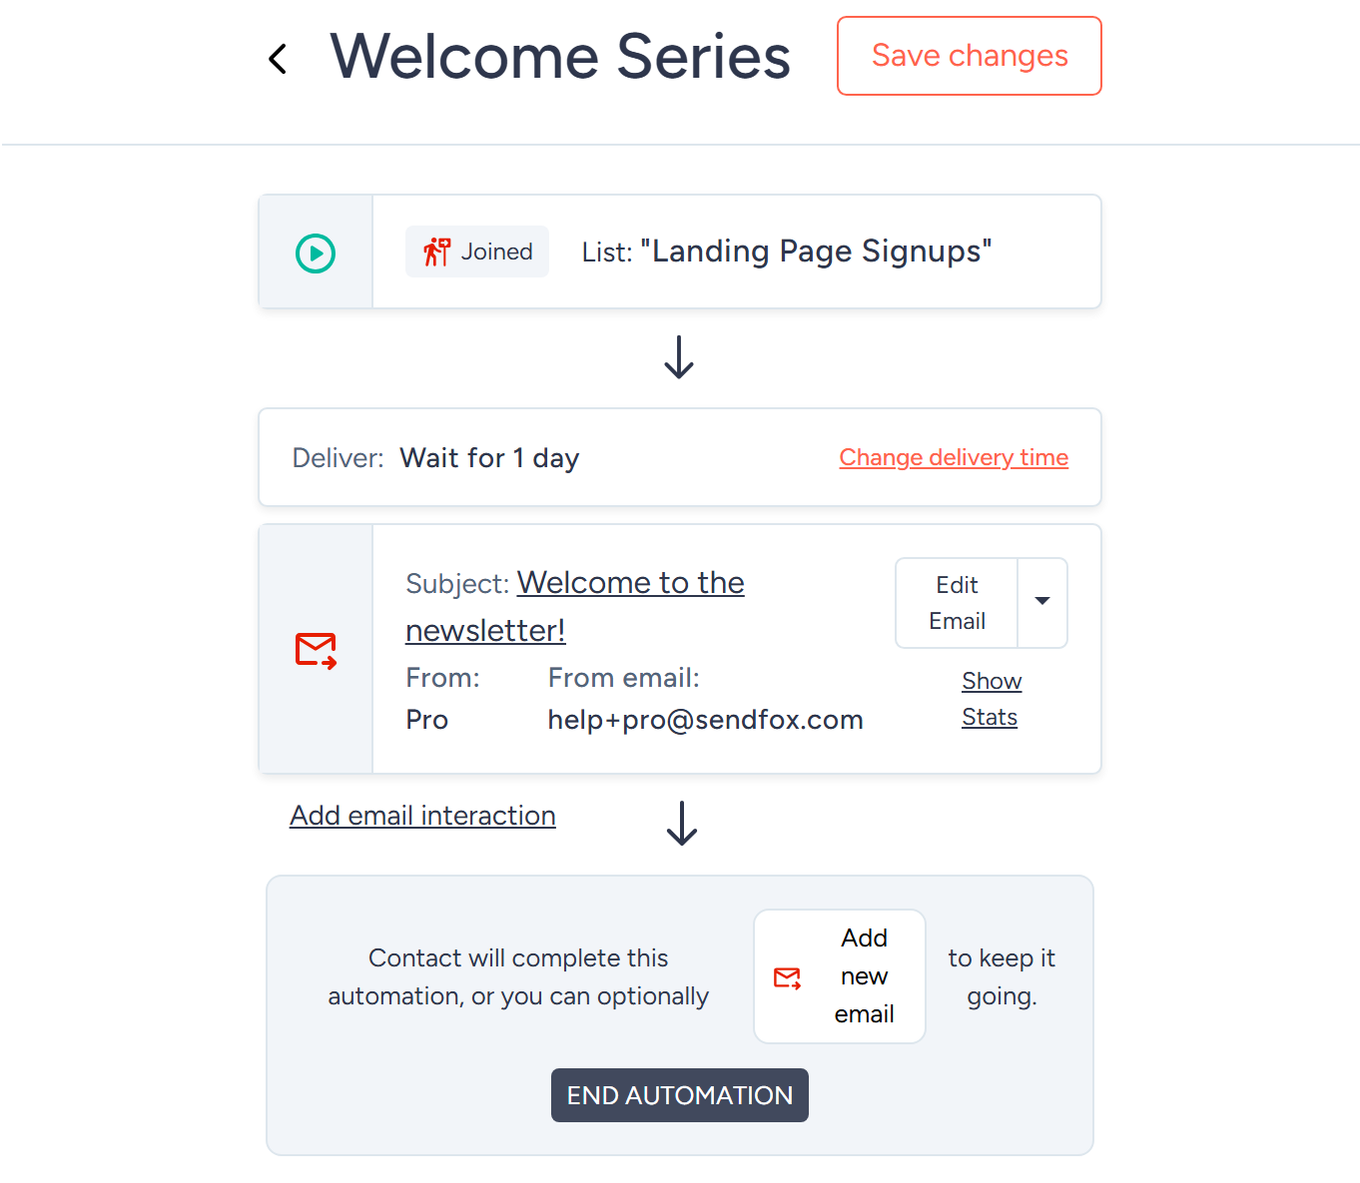
- Click Add new email to write the first email of the series. The email editor opens—write your subject and content, then click Save. You'll be returned to the automation canvas.
- Set the wait time before each email goes out. Each email has a delivery row (for example, Deliver: Wait for 1 day)—click Change delivery time, and in the Delivery Time window set Wait for: a number of hours, days, weeks, or months. Setting it to 0 sends the email immediately. See changing the delay time for details.
- Repeat Add new email for each additional message in your sequence.
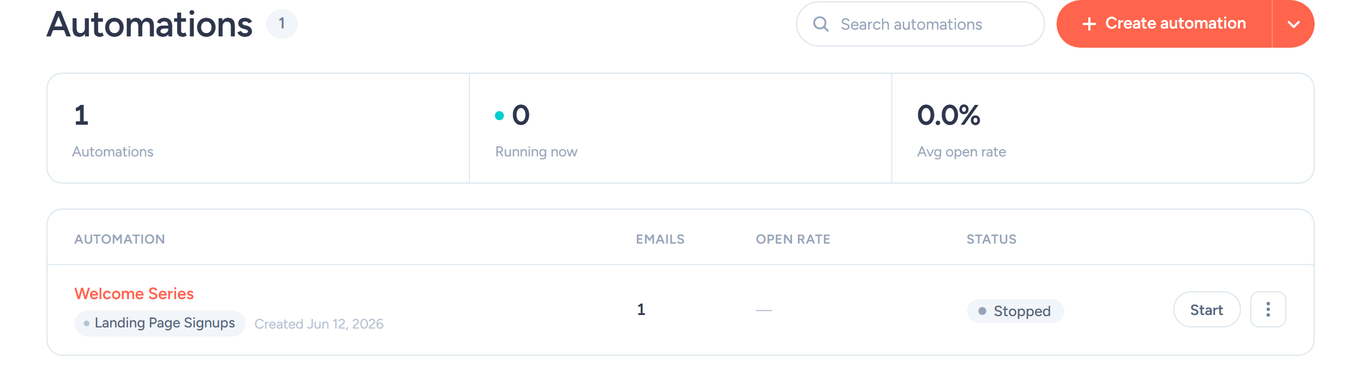
- Click Save changes, then use the Start button on the Automations page to set it running. The first time you start an automation, SendFox asks for your physical mailing address if it doesn't already have one — anti-spam law (CAN-SPAM) requires one in every email. A Running badge confirms it's live; Stop pauses it at any time.
Start with a template
If you'd rather not start from a blank canvas:
- On the Automations page, click the arrow next to Create automation and choose Start with a template — or pick Template automation on the Create automation screen.
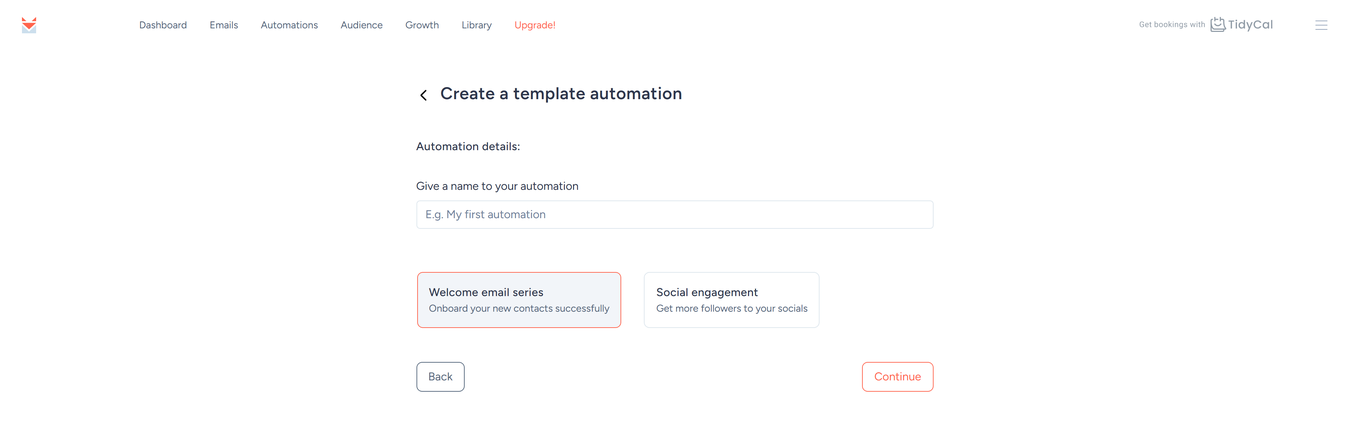
- SendFox asks for your website and social profiles so it can personalize the emails, then shows the Create a template automation screen.
- Name your automation, then pick a starting point: Welcome email series (onboard your new contacts) or Social engagement (point subscribers to your social profiles).
- Click Continue. SendFox builds the series with pre-written emails you can edit like any other automation.
Move contacts between lists automatically
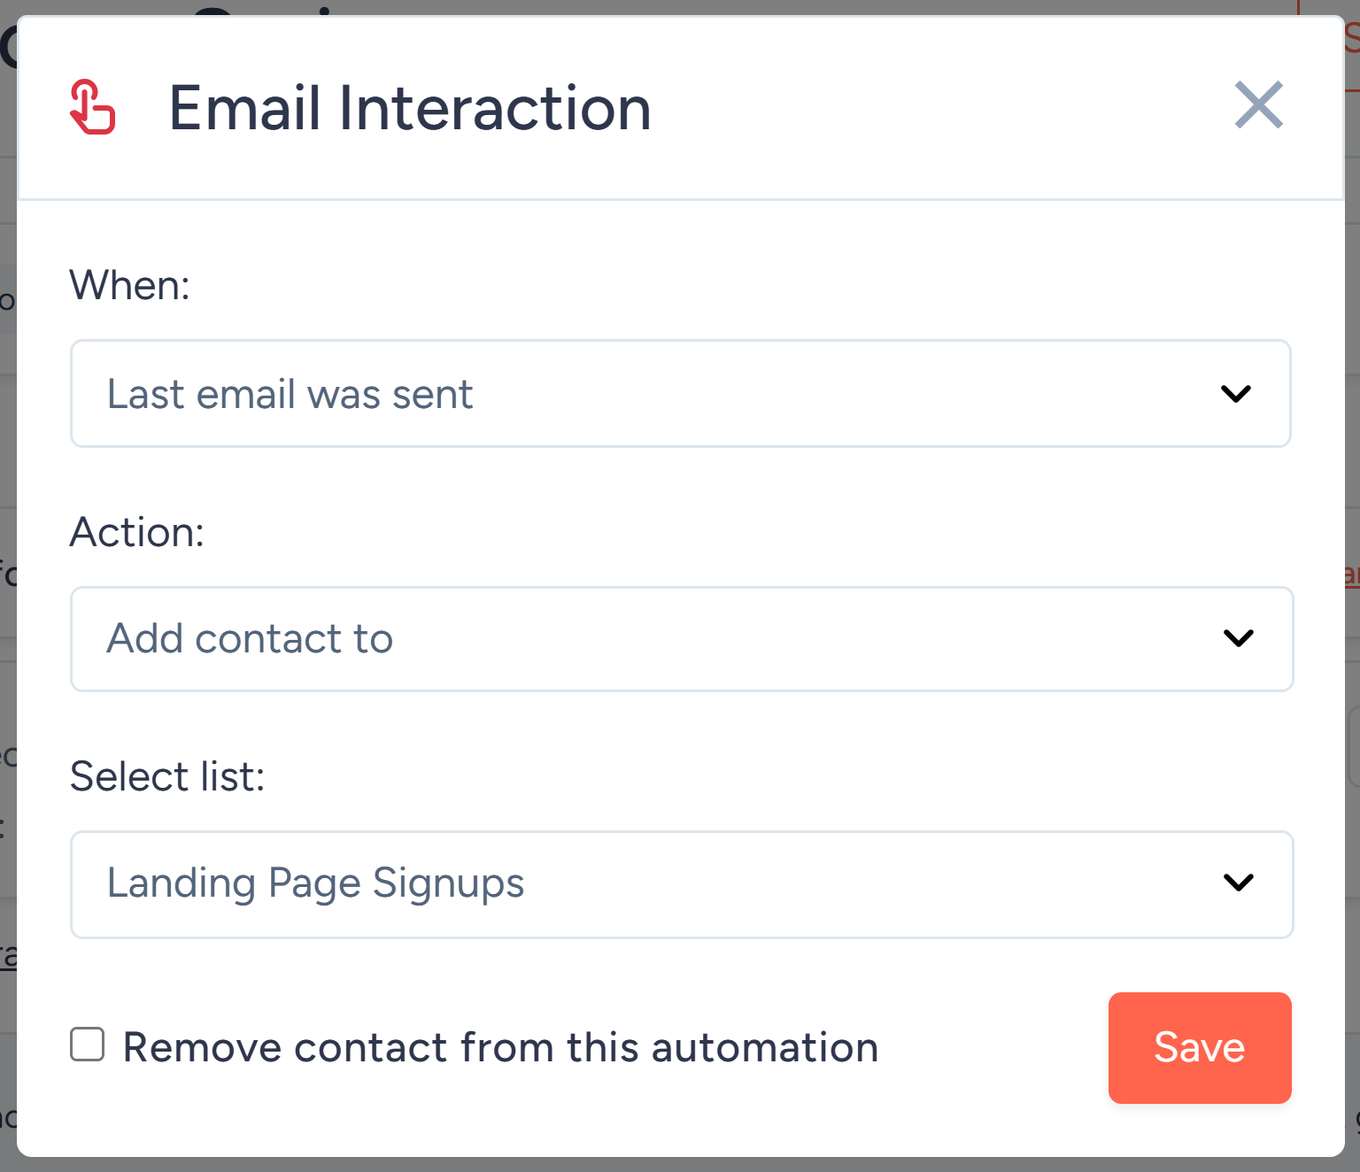
Automations can also organize your audience for you. Under any email in the series, click Add email interaction:
- When: the last email was sent, opened, or clicked
- Action: Add contact to or Remove contact from the list you pick under Select list:
- Optionally tick Remove contact from this automation to stop the series for contacts who meet the condition.
This is how you segment subscribers with automations—for example, move everyone who clicks your launch email onto a "Hot leads" list, or drop engaged readers out of a re-engagement sequence.
Run an automation for contacts already on a list
The trigger only fires for contacts who join the list after the automation starts running. To send the series to people who are already on a list:
- On the Automations page, open the dropdown on your automation and choose Add subscribers from list.
- Select the contact list you'd like to add to the workflow.
- Click Add new subscribers to queue. SendFox queues those contacts into the automation.
Automation emails are only ever sent once per contact, so adding a list twice (or adding someone who already went through the series) won't re-send emails.
A/B test an automation email (Pro)
On a Pro plan you can split-test any email in the series: open the email's dropdown on the canvas and choose Convert to A/B test. SendFox creates a second variant as a copy, splits new contacts 50/50, and lets you promote the better performer as the winner so future contacts only receive it.
Troubleshooting
The Create automation button is grayed out
- Automations require a paid plan. On the Free plan the button is disabled—upgrade to the Lifetime or a Pro plan to unlock it.
"Automation cannot start!"
- You need to verify your account email address before an automation can run. Check your inbox for the verification email, then try Start again.
Add your mailing address before starting an automation
- Anti-spam law (CAN-SPAM) requires a physical mailing address in every email, so SendFox blocks starting an automation until one is on file (you can still pause a running one). Add your street, city, ZIP, country, and time zone under Settings → Account, then click Start again.
Contacts aren't receiving the series
- Check the automation shows a Running badge—a Stopped automation doesn't send.
- The trigger only catches contacts who join the list while the automation is running. Use Add subscribers from list to queue people who were already on the list.
- Each contact goes through an automation only once—someone who already finished (or started) the series won't restart it.
- Still stuck? Visit the SendFox Help Center at help.sendfox.com.
Frequently Asked Questions
Do automation emails count toward my monthly send limit?
Yes—automated emails draw from the same sending allowance as your regular newsletters. See do automation emails count towards the sends-per-month limit?
Can I edit an automation after it's running?
Yes, but edits take effect silently—there's no warning, and emails already scheduled stay scheduled. Read what happens when you make changes in an automation before editing a live series.
What triggers are available?
Automations start when a contact joins a list. You can also queue existing list members manually with Add subscribers from list. Other trigger types aren't currently available.
How many automations can I create?
There's no cap—paid plans include unlimited automations.